After the front fender was off, I was pretty hot to trot and wanted to get that stupid horn off of there. That thing had been an eye sore to me almost as much as that screaming eagle air cleaner is (but that is for another day), so with full wind in my sail and the manual at the ready, I took that horn right off.
There it is just staring me in the face
Did a little disconnecting
Did some unscrewing and off came the horn
Relocated the choke. This is actually a pretty good place for it for now. I like it. It will be a good spot till one day I relocate the coil and then I will move it over to the carb top with a bracket, but for now, it's coo baby.
Soooooo much nice with out the chrome horn
I had to do a little jimmy rigging with the wires. It was too much trouble to take them completely out and I figured this would be a better solution that just cutting them. So I taped them up and then zip tied them inside the bracket. Out of the way and works great!
Showing posts with label manual. Show all posts
Thursday, May 17, 2012
Monday, May 7, 2012
Goodbye Tach...
With the bars all done I wanted to try and clean up the front by getting rid of the tach and running just a speedo. I looked around and ended up posting a WTB ad on chopcult and with in a couple hours I bought a single speedo housing from a member in MO. So when it finally arrived, I was down in the garage with the manual getting to work.
So here is the single speedo housing from CC member
Should look good
Detached eyebrow and speedo/tach housing
Removed backing from tach to unhook wires from tach to deutsch connector under eyebrow. You have to remove the wires otherwise you cannot remove tach from housing because the wires go through the housing.
Here is the 12 point connector that lives under the eyebrow
I had to follow the wires back to know which ones to disconnect, but then I noticed there was a black ground wire that splits and one part goes to the tach and the other to the speedo so I had to cut that wire. Now, I am not in the habit of cutting wires but in this case, I had no choice.
After the black ground wire was cut, the tach came off pretty easily. Here it is all disassembled and off the mount!
Then to keep things clean, I put it all back together and reassembled it. And tah-dah!!! Tach is off and easy enough.
Now onto the speedo....
So here is the single speedo housing from CC member
Should look good
Detached eyebrow and speedo/tach housing
Removed backing from tach to unhook wires from tach to deutsch connector under eyebrow. You have to remove the wires otherwise you cannot remove tach from housing because the wires go through the housing.
Here is the 12 point connector that lives under the eyebrow
I had to follow the wires back to know which ones to disconnect, but then I noticed there was a black ground wire that splits and one part goes to the tach and the other to the speedo so I had to cut that wire. Now, I am not in the habit of cutting wires but in this case, I had no choice.
After the black ground wire was cut, the tach came off pretty easily. Here it is all disassembled and off the mount!
Then to keep things clean, I put it all back together and reassembled it. And tah-dah!!! Tach is off and easy enough.
Now onto the speedo....
Wednesday, April 18, 2012
Getting ready for Workin'
I have been tracking my new bars and stuff and it looks like it is coming tomorrow so in preparation of the new bars I did some work to get the front end ready. Plus I like to go through stuff once before hand (take it apart and put it back together again) that way I know how it all works and no surprises. Also it allows me to figure stuff out before so when I am actually doing the work, I don't get stuck...which I can't stand.
Go those bars coming and the single speedo housing from a fellow CC member. Thinking about starting a build thread on CC as well or at least writing a How-To about removing signals.
Labels:
1200,
1996,
connector,
davidson,
deutcsh,
garage,
good times,
handlebars,
harley,
headlight,
manual,
motorcycle blog,
motorcycles,
screaming eagle,
service,
slayer,
speedo,
speedometer,
sportster,
tachometer
Tuesday, April 17, 2012
Took Off the Signals
So now that I have my manual I decided to clean things up a bit. I wanted to keep my hand controls because if (and when) Johnny Law pulls me over for not havin signals, I just want to go home, hook up the old ones, drive over to the CHP and get them to sign off on the fix it ticket and pay my $25, and take them off again. So I decided to unhook the signals wires from the Deutsch connectors.
Bought this stuff from the hardware store

Took off the seat to get to the wires and connectors
Unscrewed the rear signal from the back fender

Located the Deutcsh connector or the rear signals (found it from my manual)
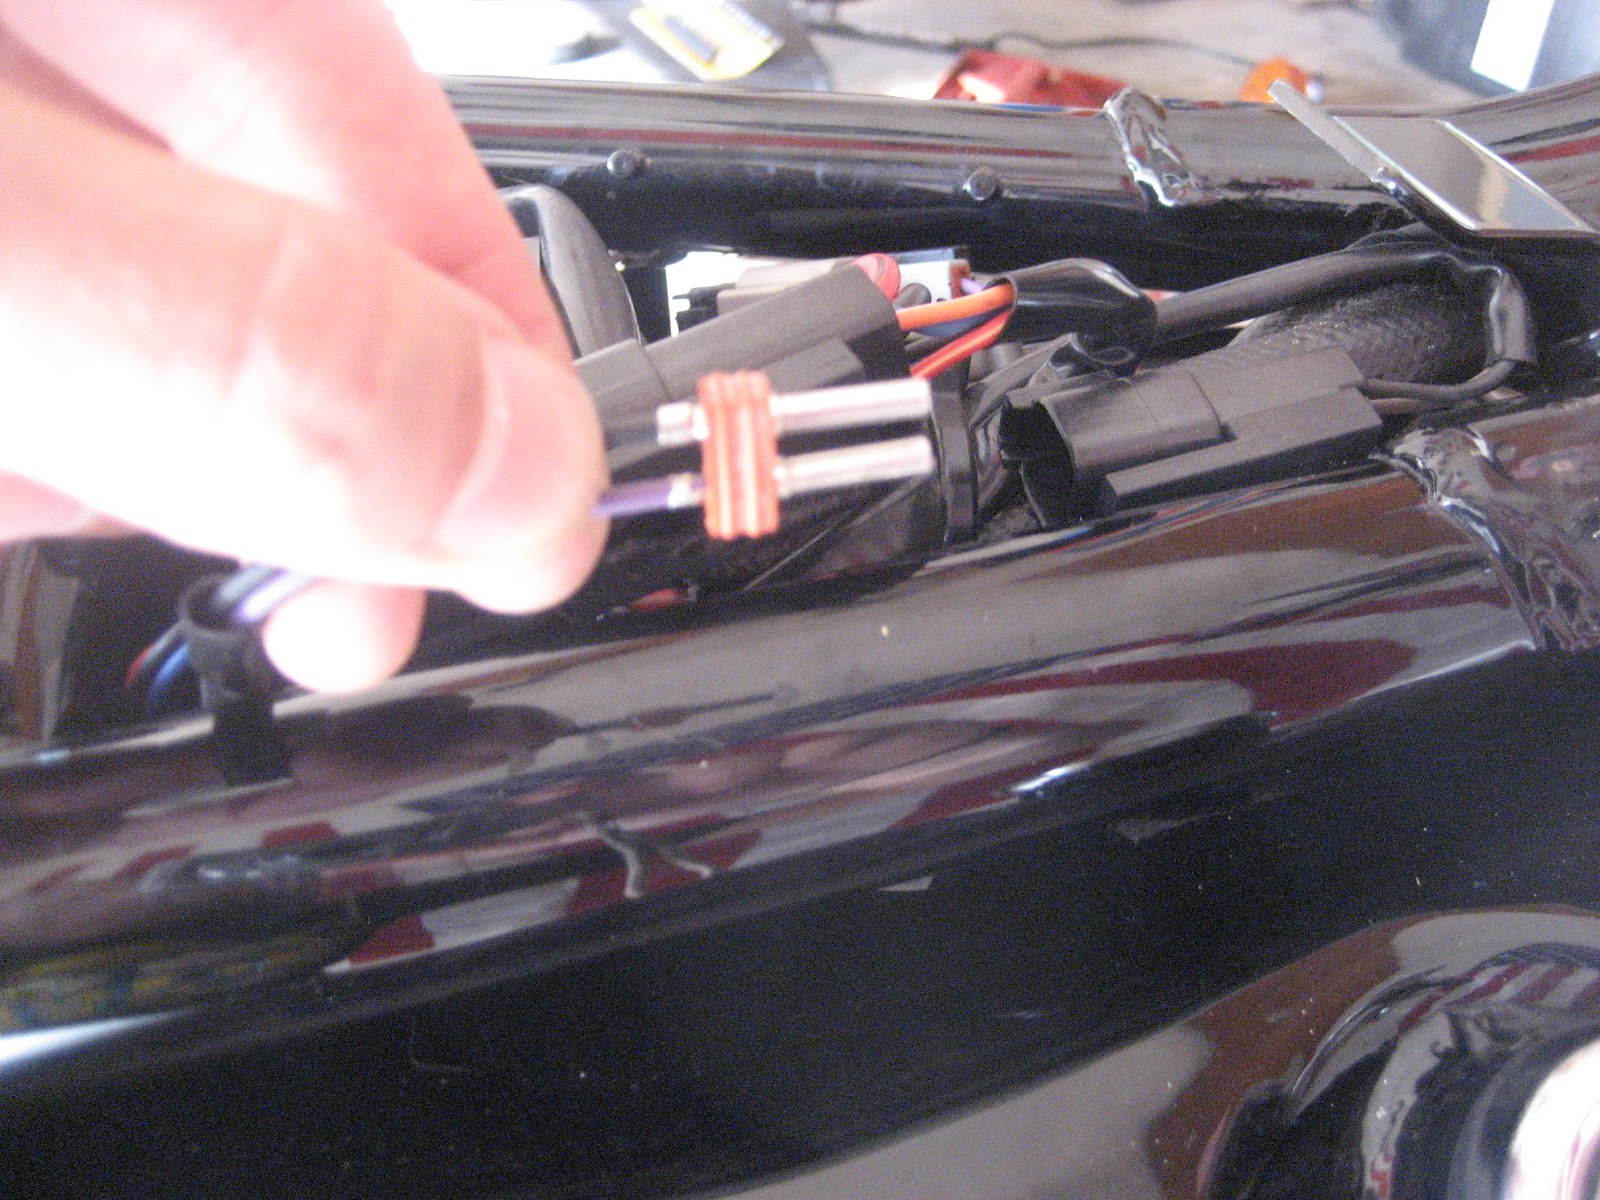
Unplugged wires had to open connector and then released the pin

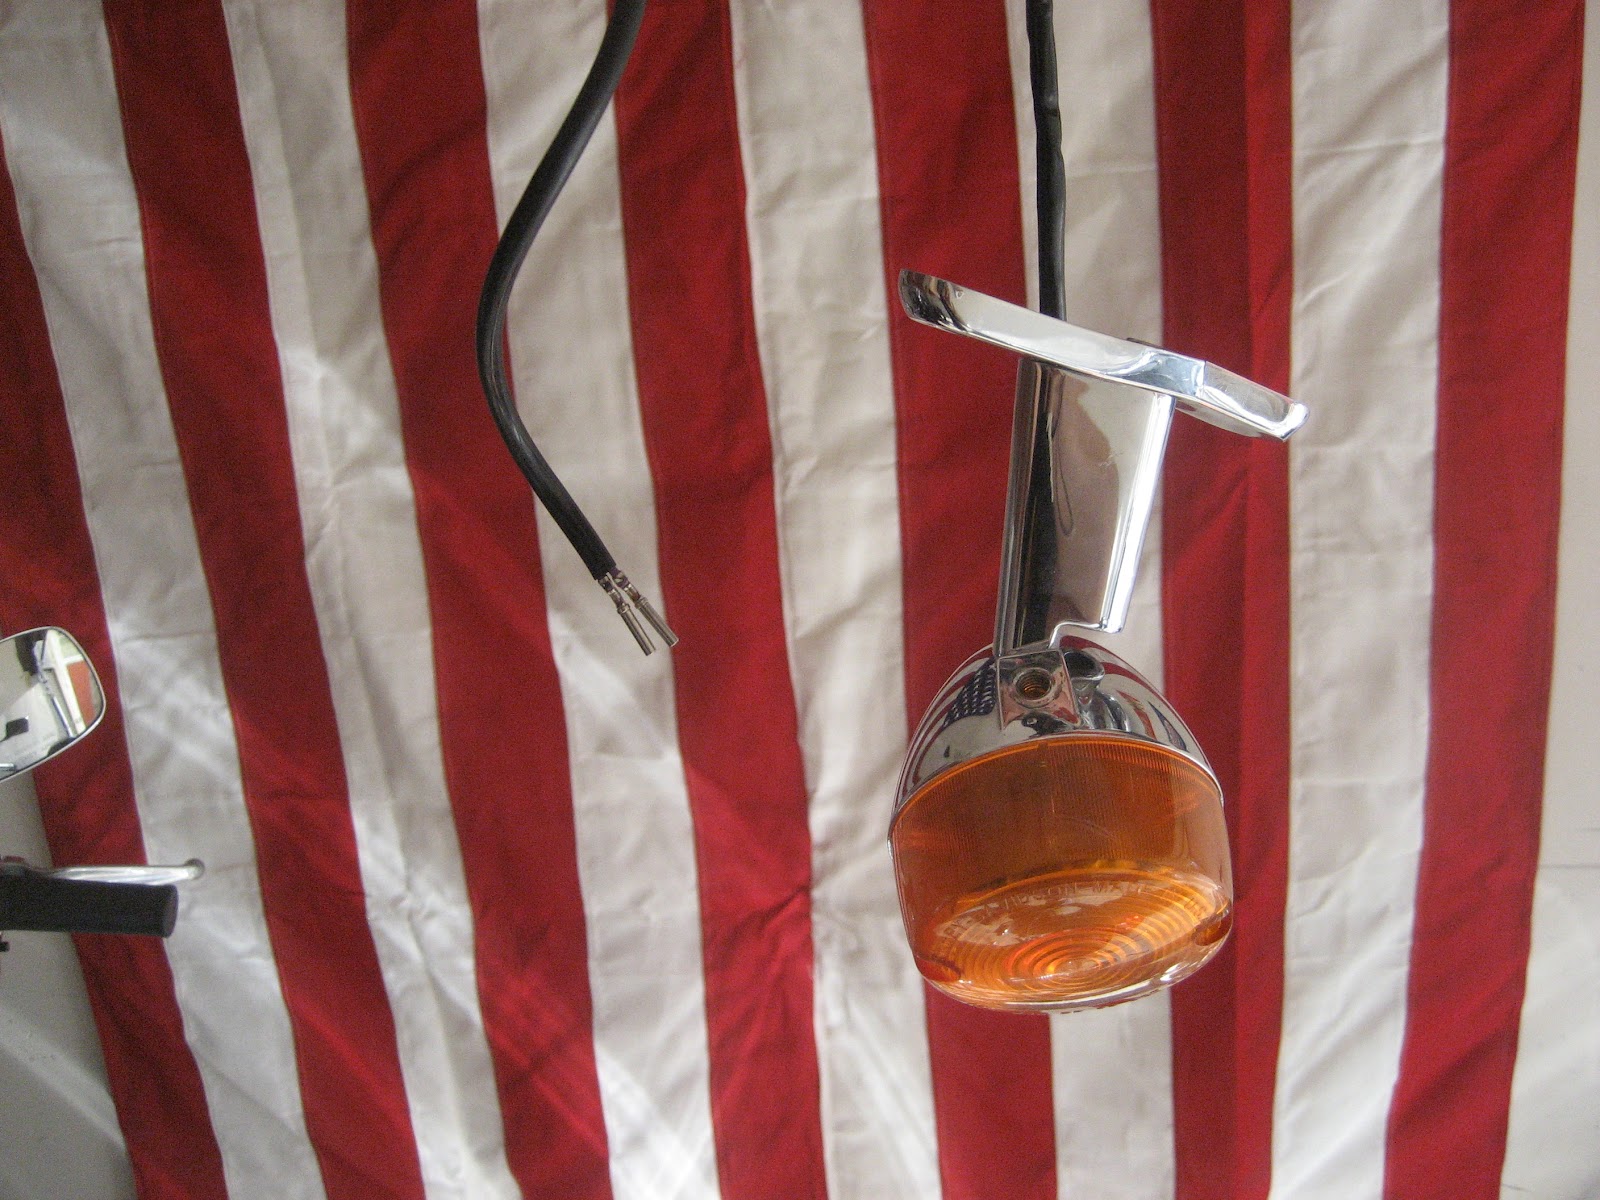
Routed out the wires and out comes the signal all in one piece
Did the same for the right side one
Bought this stuff from the hardware store
Took off the seat to get to the wires and connectors
Unscrewed the rear signal from the back fender
Located the Deutcsh connector or the rear signals (found it from my manual)
Unplugged wires had to open connector and then released the pin
Routed out the wires and out comes the signal all in one piece
Did the same for the right side one
Now on to the front, unscrewed the signal from the handlebar controls
Opened up the head light bucket and found the front connectors
Located where the wires connected via das manual
Opened it up and disconnected by releasing the pins
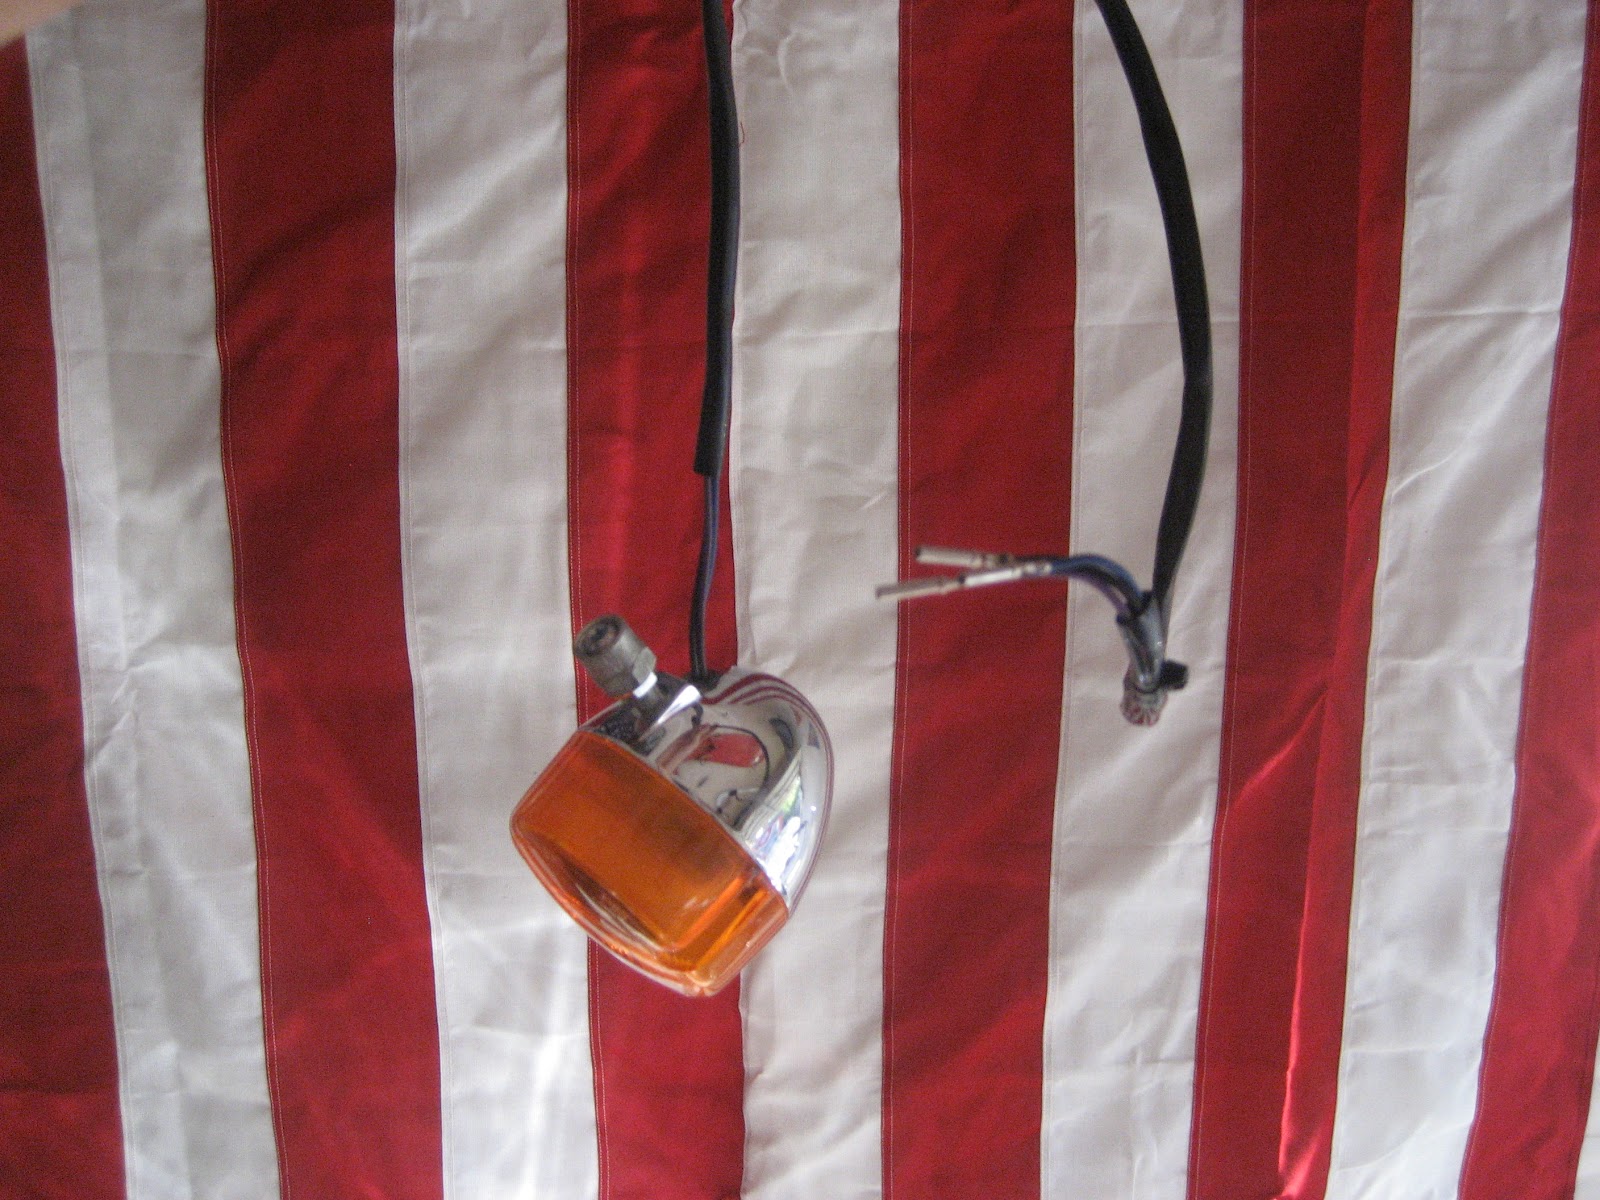
Routed it out from behind the headlight and off it came!
Oh yes! I now had open holes that needed to be covered so I covered them with a small piece of electrical tape so's not to compromise the integrity of the connector.
And there they all are
Put the head light back together
And BOOM, no more ugly signals hanging down from the bars
or from the rear (it looks dirty cause there is a coat of wax on there) and I put the chrome bolts in
That's what I did today...got some stuff on order should come later this week...handlebars, grips, and a new speedo housing. Weather is getting hotter and I wanna get this stuff done. Also thinking about custom painting my helmet.....it's not so hard (famous last words).
Located where the wires connected via das manual
Opened it up and disconnected by releasing the pins
Routed it out from behind the headlight and off it came!
Oh yes! I now had open holes that needed to be covered so I covered them with a small piece of electrical tape so's not to compromise the integrity of the connector.
And there they all are
Put the head light back together
And BOOM, no more ugly signals hanging down from the bars
or from the rear (it looks dirty cause there is a coat of wax on there) and I put the chrome bolts in
That's what I did today...got some stuff on order should come later this week...handlebars, grips, and a new speedo housing. Weather is getting hotter and I wanna get this stuff done. Also thinking about custom painting my helmet.....it's not so hard (famous last words).
Saturday, April 14, 2012
Got My Manual
in the mail.
Its the original service manual from '96.
Was a bit tricky to find, but finally found it and for a great price ta-boot (Thank you friendly British person).
Ha! Now its really on....
Its the original service manual from '96.
Was a bit tricky to find, but finally found it and for a great price ta-boot (Thank you friendly British person).
Ha! Now its really on....
Labels:
1996,
davidson,
garage,
good times,
harley,
manual,
motorcycle blog,
motorcycles,
service,
shop,
xl1200
Subscribe to:
Posts (Atom)