Showing posts with label connector. Show all posts

Monday, May 7, 2012

Dear Speedo: Goodbye, Hello, Goodbye

As it turns out the speedo removal was to be a more complicated than the tach.  See with the tach, it was as simple as unscrew, disconnect, snip, done but the speedo, well, the speedo had this bundle of wires that ran from the speedo, through the mount then down under the tank and alllllllll the way to the main wiring harness under the seat.

Here is the speedo open:


Here is a wider angle


You can see the loose wires that needed to be disconnected.  The black thing in the middle is the trip meter.  On the right of the photo you can see that there are 2 wire bundles that run out of the speedo.  One bundle goes to the deutsch connector and the other goes to the main wiring harness under the seat.


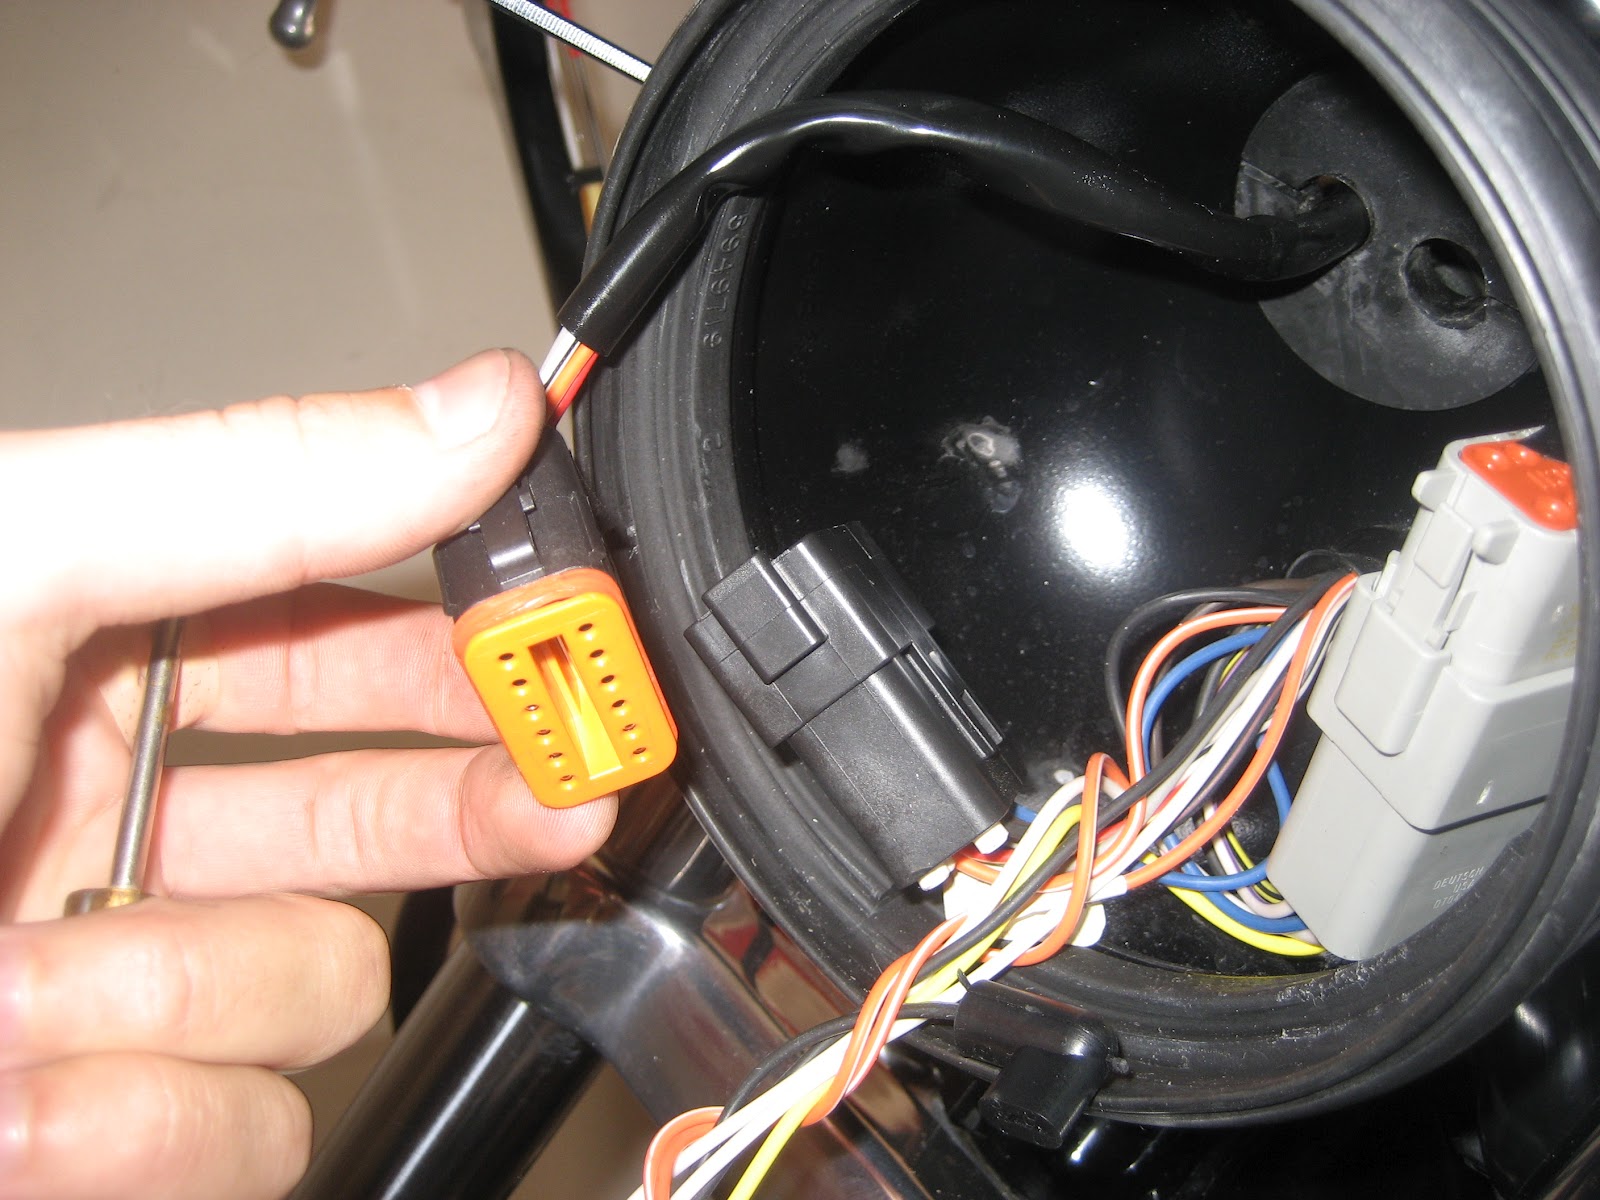
There is where that bad boy connects


Undo the connector and you can see the 3 pins that need to be removed in order to free the speedo


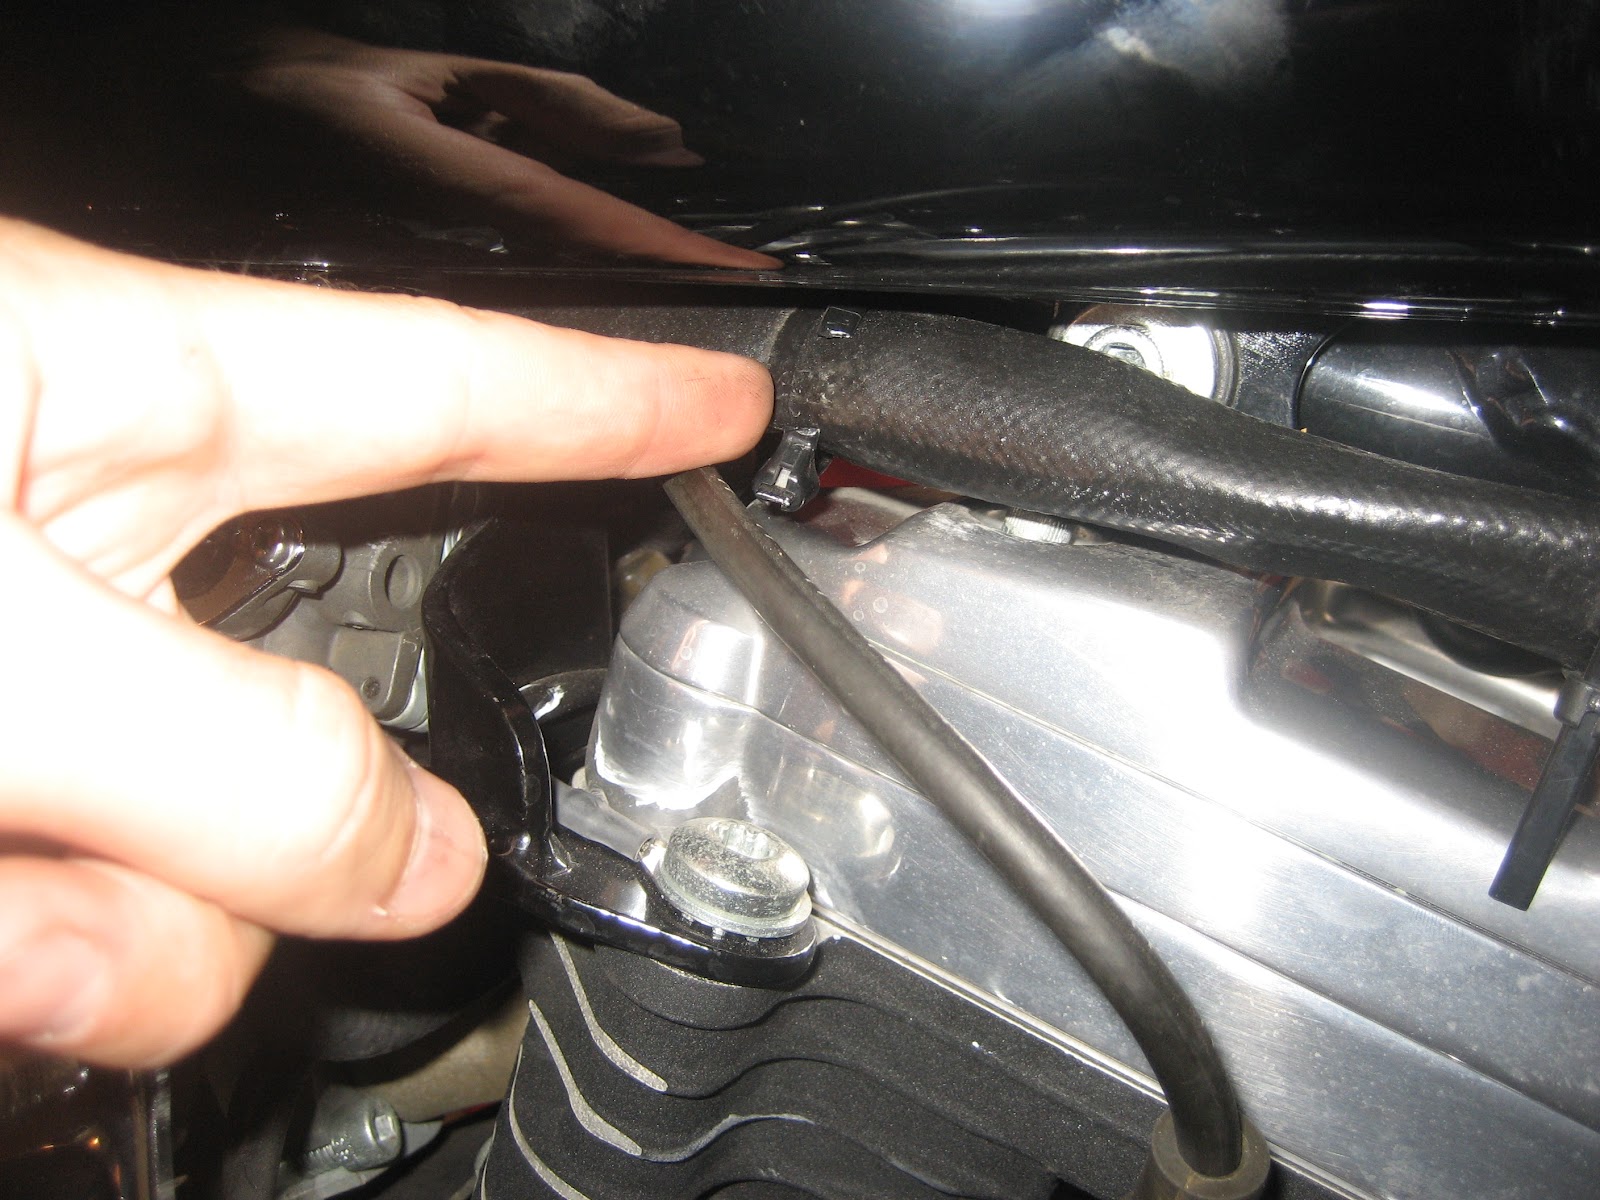
Once disconnected I noticed that the wire is zip tied to the main bundle of wires that run from the main wiring harness forward, under the tank.  I followed the wire bundle down from the speedo housing and came to the conclusion that I might have to take off the tank in order to free the wire bundle.  But then I realized that if I clipped certain zip ties, I would have enough slack to pull the wire free.  Then I would just use new zip ties when I ran the wire bundle back to the main harness.

If you are wondering why I had to do this its because the wire bundle runs into the speedo and THROUGH the speedo/tach bracket.  So even when you push the speedo out of the housing, this wire bundle still runs THROUGH the bracket, you cannot disconnect it at the speedo because it runs into the speedo, you have to disconnect it that the main wiring harness.

You can see here where I cut the zip ties


This is the path of the wire bundle


About the ignition coil is where I pulled the wire bundle after I freed it from certain zip ties.  It took a bit of convincing but it started to come out


Then next thing I knew, the wire bundle was free and so was the speedo and bracket.  You can see that at this point the instrument lights are still attached to the mounting bracket


From  here it was a breeze.  I just unscrewed the lights from the back of the bracket


Oh yes, you can see on the left there is where I taped up that loose ground wire.


I screwed the dummy lights into the new single speedo housing and then....


It took a little convincing but I pushed the new speedo in the housing and re attached the loose wires in the back.  Here is a little tip:  Use some WD-40 on the foam rings that go around the speedo to help get them in between the speedo and the housing.  It will take a little work, but the WD-40 will help (also might have been because the housing was slightly out of shape (but only slightly)).

Next thing you know.....here it is the single speedo ready to go.


But then a funny thing happened....

Sunday, April 22, 2012

Front End Electrical

So first things first, I had to disconnect all the front end electronics going to the control pods on the handlebars.  They are routed eternally and then they go into the headlight bucket and connect to the deutcsh connectors there.  So I opened up the headlight and disconnected the wires there first.  Then I pulled them out of the bucket and disconnected them from the bars.  The clutch side was easy, but removing the throttle side is a bit trickier because in preparation for the new bars I have to remove the throttle as well...


See the throttle housing and the control pod are one and the same so removing the pod means removing the throttle so I opened it up


Removed the cables (was sure not to lose the brass ferrule on each one)


And off comes the throttle sleeve.  As you can see I had to use the headstock of my bass as a make shift holder for the master cylinder/front brake


Taped off what was what so I would remember


Then I removed the bars and we are ready to begin drilling out the holes on the bars to ready them for internally wiring.


Wednesday, April 18, 2012

Getting ready for Workin'

I have been tracking my new bars and stuff and it looks like it is coming tomorrow so in preparation of the new bars I did some work to get the front end ready.  Plus I like to go through stuff once before hand (take it apart and put it back together again) that way I know how it all works and no surprises.  Also it allows me to figure stuff out before so when I am actually doing the work, I don't get stuck...which I can't stand.


Go those bars coming and the single speedo housing from a fellow CC member.  Thinking about starting a build thread on CC as well or at least writing a How-To about removing signals.