Showing posts with label friscos. Show all posts

Wednesday, June 13, 2012

Been Slow, Bike Good

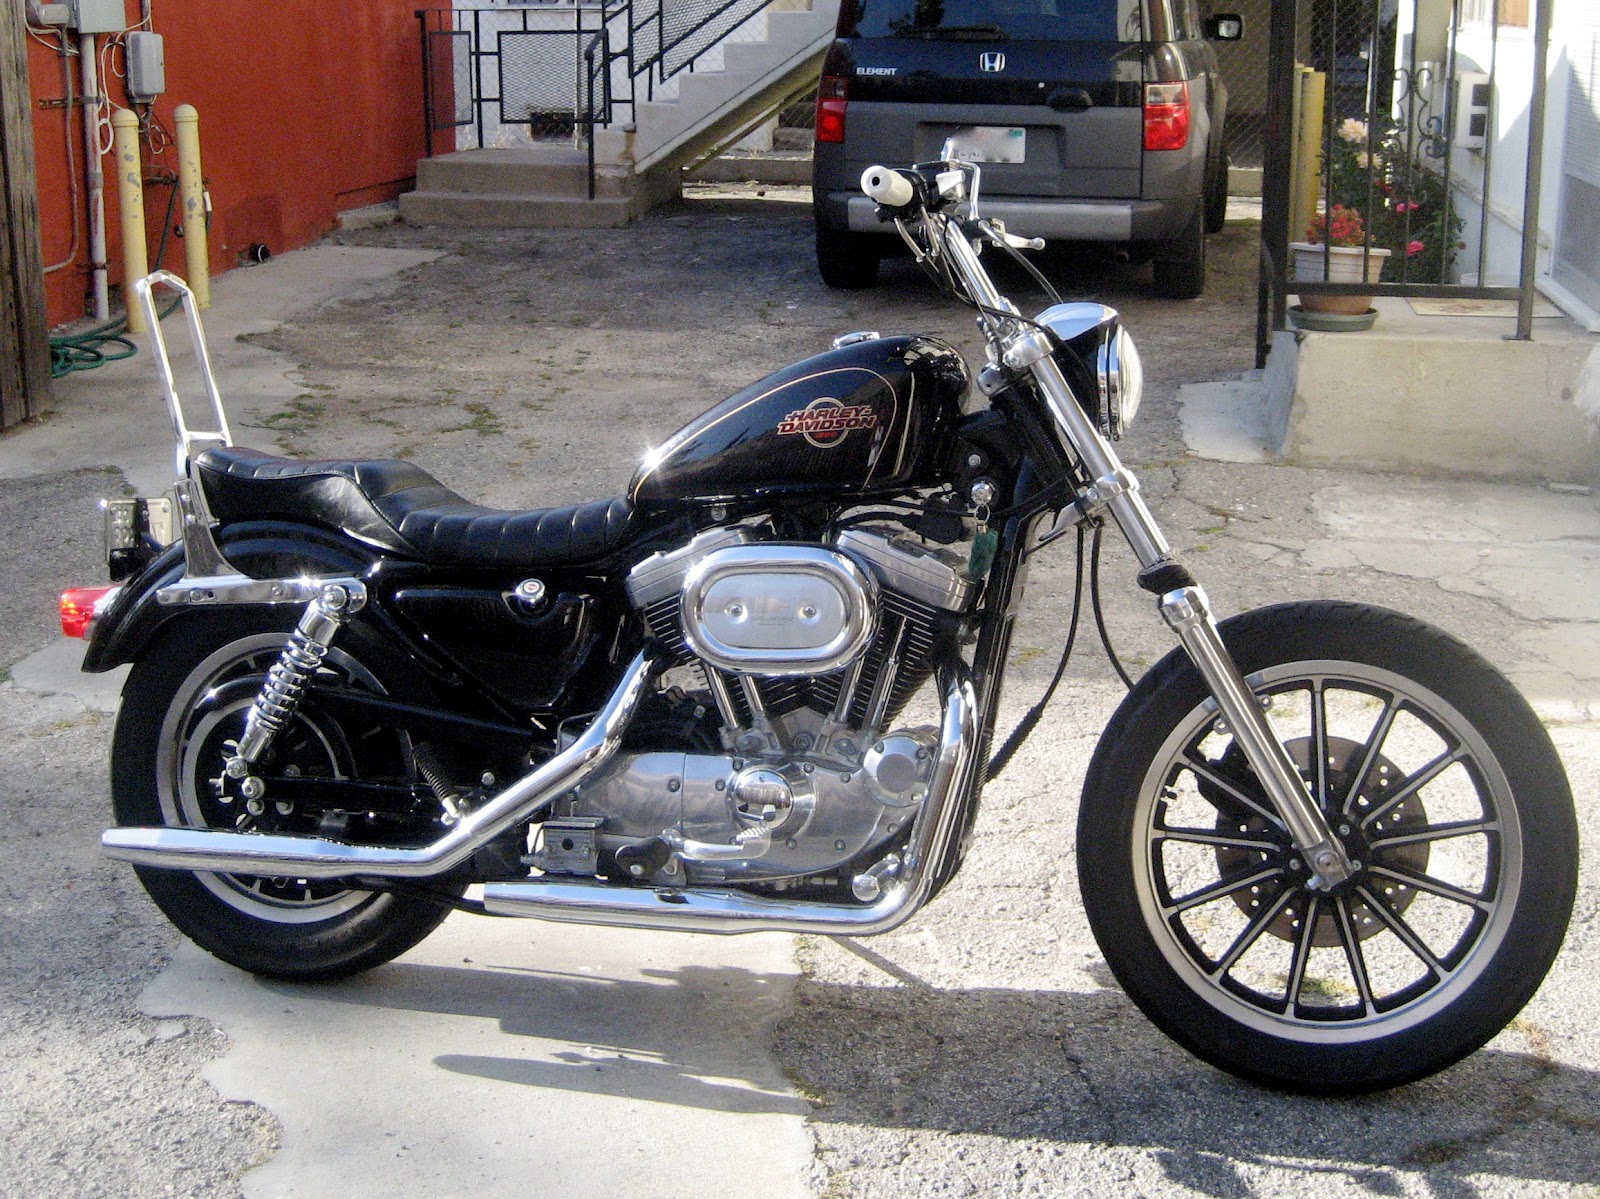
Its been a bit slow around here (at least in terms of the bike, cause other than that it seems I have been busy as hell).  Here are some sweet pics of The Good Times with the new sissy bar on.  More posts to come.


Monday, May 7, 2012

Dear Speedo: Goodbye, Hello, Goodbye

As it turns out the speedo removal was to be a more complicated than the tach.  See with the tach, it was as simple as unscrew, disconnect, snip, done but the speedo, well, the speedo had this bundle of wires that ran from the speedo, through the mount then down under the tank and alllllllll the way to the main wiring harness under the seat.

Here is the speedo open:


Here is a wider angle


You can see the loose wires that needed to be disconnected.  The black thing in the middle is the trip meter.  On the right of the photo you can see that there are 2 wire bundles that run out of the speedo.  One bundle goes to the deutsch connector and the other goes to the main wiring harness under the seat.


There is where that bad boy connects


Undo the connector and you can see the 3 pins that need to be removed in order to free the speedo


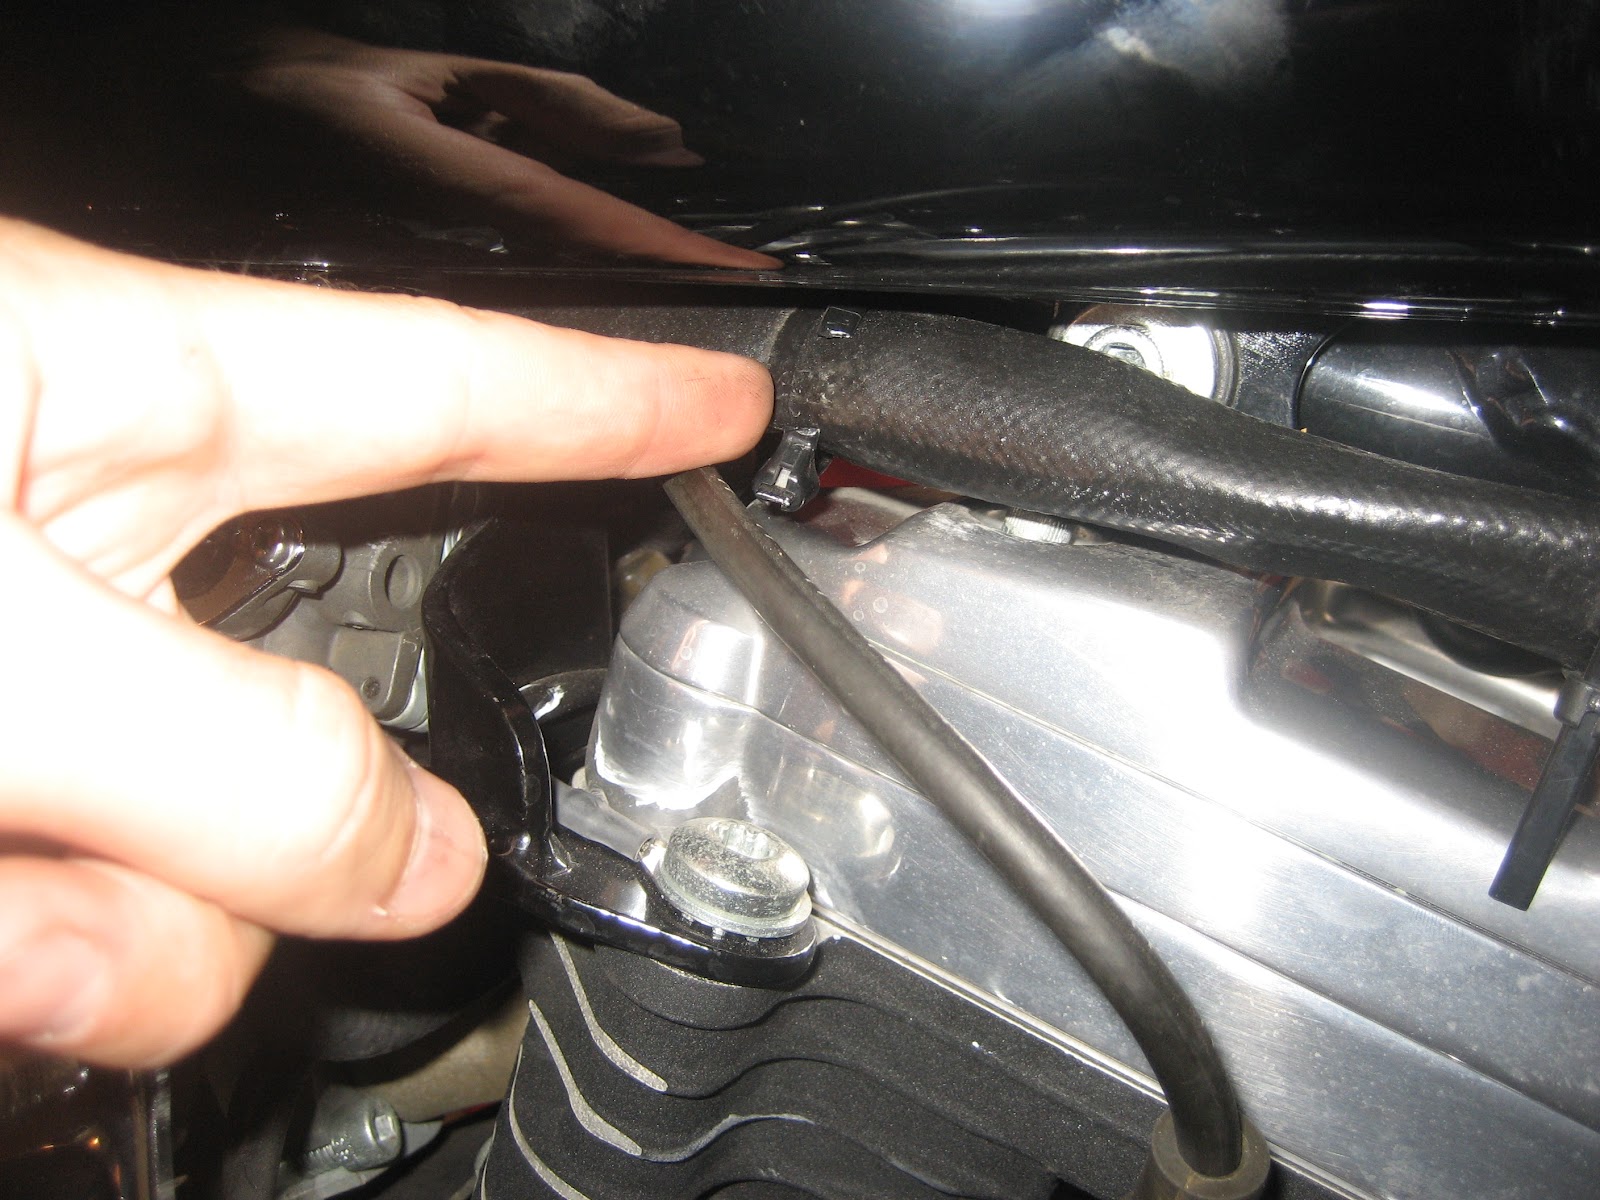
Once disconnected I noticed that the wire is zip tied to the main bundle of wires that run from the main wiring harness forward, under the tank.  I followed the wire bundle down from the speedo housing and came to the conclusion that I might have to take off the tank in order to free the wire bundle.  But then I realized that if I clipped certain zip ties, I would have enough slack to pull the wire free.  Then I would just use new zip ties when I ran the wire bundle back to the main harness.

If you are wondering why I had to do this its because the wire bundle runs into the speedo and THROUGH the speedo/tach bracket.  So even when you push the speedo out of the housing, this wire bundle still runs THROUGH the bracket, you cannot disconnect it at the speedo because it runs into the speedo, you have to disconnect it that the main wiring harness.

You can see here where I cut the zip ties


This is the path of the wire bundle


About the ignition coil is where I pulled the wire bundle after I freed it from certain zip ties.  It took a bit of convincing but it started to come out


Then next thing I knew, the wire bundle was free and so was the speedo and bracket.  You can see that at this point the instrument lights are still attached to the mounting bracket


From  here it was a breeze.  I just unscrewed the lights from the back of the bracket


Oh yes, you can see on the left there is where I taped up that loose ground wire.


I screwed the dummy lights into the new single speedo housing and then....


It took a little convincing but I pushed the new speedo in the housing and re attached the loose wires in the back.  Here is a little tip:  Use some WD-40 on the foam rings that go around the speedo to help get them in between the speedo and the housing.  It will take a little work, but the WD-40 will help (also might have been because the housing was slightly out of shape (but only slightly)).

Next thing you know.....here it is the single speedo ready to go.


But then a funny thing happened....

Friday, May 4, 2012

Internally Wiring the Bars Pt. 3-Gripped It & Ripped It

With the bars internally wired and all the electrical done up it was time to mount the bars, put the throttle back on, attach the throttle cables and then put the white grips on.

With the bars mounted and the control pods up I reattached the throttle cables


Here it is almost done.  Here is just a note about the grips:  The left side grip was super easy to slide on, no prob at all.  However, the throttle grip was not so easy....


In order to get the new grip on the throttle, I had to roll off the old grip...not so bad, but then I could only get the grip half way on.  So here is the tip:  Go get some rubbing alcohol and rinse the inside of the grip with the rubbing alcohol, the shoot the smallest drip of WD-40 in with it, then slide that bad mofo on the throttle sleeve and let it dry, when it does, that bad boy will not be coming off.


With the new grips on I whipped up an oil/graphite concoction under the throttle sleeve to keep that throttle all lubed up.  Then it was throttle cable adjustment time.  Easy breezy.  Got that snap back going real good.


Here it is all done...


Now onto the speedo and tach....

Thursday, May 3, 2012

Internally Wiring the Bars Pt. 2

So when I left it last time, I had finally had some late night success so the next morning it was back to work.  I still had the throttle side to deal with, wiring, master cylinder and throttle.

This time things went so much easier because of what I learned the previous night.  So right off the bat I cut off the wire cover.


This way the wire covering won't bunch up in the 90 degree bend


Tied up the guitar string around the bundle of wires.  This time I knew to divide the wires in to bundles of 3 wires.


And this time, super simple, out comes the wires not as big of a deal this time round


It was at this point that Christa Jayne brought me some delicious breakfast.  I was so surprised and stoked!!!!!  It seriously made my morning!  Two eggs sunny side up on toast, too good!!!


 As soon as I was done with breakfast I wired up the other 3 wire bundle and slide the wrap over and just like that the bars are internally wired!!!!!!!


Now I mocked up the bars in the bike just to check it out


Now that the bars are mocked up it was time to wire everything back up to make sure it works


Then was the moment of truth, I turned the key and pressed the started button....she fired right up!!!!!  I checked all the electronics and everything seemed good except the hi/low beam.  After wiring the first time I accidentally mis-wired the hi low beam of the head light but that was a quick and easy rewire.  From there as you can see, thumbs up..all was good in the proverbial hood.


Sunday, April 29, 2012

Internally Wiring the Bars Pt.1-Six the Hard Way

Ok so now that the holes are drilled out I thought to myself, "Oh man I got this now!"....How wrong I was.  I mean I knew it was going to be tricky, but little did I know I would end up cursing like a sailor, needing to solder some connectors and learning some very critical information the hard way.

So first I took some thread and tied a nut to the end of the string to put the nut in one one and jiggle it out the other, however, turns out that the nut was too big and I instead decided to use a small screw


Once I dropped the thread with a nut from one hole to the other, then I tied the end of the string to a low E guitar string and pulled the guitar string through the  bars


That proved to be somewhat ok.  I also bought some rubber grommets to put around the holes I drilled that way I would not have to file them down, and they did indeed fit perfect


I pulled both strings through


Then I took the 6 wires from the hand controls, tied an overhand knot around them and taped up the whole thing with electrical tape so it would not come apart while viciously pull them through the bars


Here it is all bundled up


This is where things start to go a bit amiss.  So after trying multiple times to pull the bundle of 6 wires through the bars, I finally get them through (one of the times I realize that the black plastic sleeve bunched up at the 90 degree bend rendering the try useless and having to start all over again, only after cutting off most of the wrap).  However, when I do finally get them to the bottom hole, I realize that the bundle of connectors are too wide to fit through the hole.  I tried vigorously to try and get them out seeing as how I just victoriously pulled them through, but to no avail.  I was pulling out single connectors one at a time.  As you can see here, I got about the 3 of the wires out when tragedy struck...


I broke off one of the Deutsch connectors!  Not a happy moment.  It was about here that I was so pissed off that I stopped taking pictures.  At this point I dropped everything and rode over to Radio Shack where i had to pic up a solder kit (the old one I had was not heating up).  So then I came back and although the night was getting late, I was determined to fix my wrong.  I immediately heated up the solder gun and got to it.  Soon enough, the connector was back on.....oh wait, did I mention that because i could not get all the wires through that I had to pull them all BACK OUT!!!!!!  Well, I did and I was not happy about it.  So anyhow, after I got the connector back on I had a great idea: Instead of pulling out all 6 wires at once, I would break it up and do 3 and 3.  More time consuming but it might work.

And in fact it did!  I had to first put the wires through the grommet so it would be on the back end.  But none the less, I got all the wires through!!!


Here they are all out!


Then I took the extra black sleeve that I cut off and slid it back over the wires and up into the bars.  Slip the wires through a grommet on the bottom, placed grommet around the hole and there it is!  One side of the bars internally wired and some good lessons learned.  Ones that would help make the other side a bit of a breeze...although I had the throttle to deal with.  Either way!  I was stoked, I had some success, and promptly tapped out for the evening.