Thursday, May 17, 2012

That Stupid Horn

After the front fender was off, I was pretty hot to trot and wanted to get that stupid horn off of there.  That thing had been an eye sore to me almost as much as that screaming eagle air cleaner is (but that is for another day), so with full wind in my sail and the manual at the ready, I took that horn right off.

There it is just staring me in the face


Did a little disconnecting


Did some unscrewing and off came the horn


Relocated the choke.  This is actually a pretty good place for it for now.  I like it.  It will be a good spot till one day I relocate the coil and then I will move it over to the carb top with a bracket, but for now, it's coo baby.


Soooooo much nice with out the chrome horn


I had to do a little jimmy rigging with the wires.  It was too much trouble to take them completely out and I figured this would be a better solution that just cutting them.  So I taped them up and then zip tied them inside the bracket.  Out of the way and works great!

Wednesday, May 16, 2012

Monday, May 14, 2012

New Seat!!!!!!

My new seat finally came today and I was so pumped to put it on!  I ordered it off "eyay!" (if you know what I mean) and its an old factory tuck and roll 2up.  I might get a solo down the road but I wanted something Christa and I can ride together on.  I mean you gotta have your woman on the back of your bike.  Plus I got a supa fly deal on it.  Thank you eyay! and thank you guy in middle America for getting rid of such an awesome seat that you kept in such great condition just for me!


Here was my old factory pillow monster


Here is a side by side of the two


Here is with the old seat and then now the new seat.  I also took off the pillow pad on the small sissy bar.


You Need Speed, Not a Speedo

I said, "You know, now that I got the speedo and tach off it just looks so good without it.  I am just gonna keep it off."  So I did, and it looks waaaaaay cleaner.


Monday, May 7, 2012

Dear Speedo: Goodbye, Hello, Goodbye

As it turns out the speedo removal was to be a more complicated than the tach.  See with the tach, it was as simple as unscrew, disconnect, snip, done but the speedo, well, the speedo had this bundle of wires that ran from the speedo, through the mount then down under the tank and alllllllll the way to the main wiring harness under the seat.

Here is the speedo open:


Here is a wider angle


You can see the loose wires that needed to be disconnected.  The black thing in the middle is the trip meter.  On the right of the photo you can see that there are 2 wire bundles that run out of the speedo.  One bundle goes to the deutsch connector and the other goes to the main wiring harness under the seat.


There is where that bad boy connects


Undo the connector and you can see the 3 pins that need to be removed in order to free the speedo


Once disconnected I noticed that the wire is zip tied to the main bundle of wires that run from the main wiring harness forward, under the tank.  I followed the wire bundle down from the speedo housing and came to the conclusion that I might have to take off the tank in order to free the wire bundle.  But then I realized that if I clipped certain zip ties, I would have enough slack to pull the wire free.  Then I would just use new zip ties when I ran the wire bundle back to the main harness.

If you are wondering why I had to do this its because the wire bundle runs into the speedo and THROUGH the speedo/tach bracket.  So even when you push the speedo out of the housing, this wire bundle still runs THROUGH the bracket, you cannot disconnect it at the speedo because it runs into the speedo, you have to disconnect it that the main wiring harness.

You can see here where I cut the zip ties


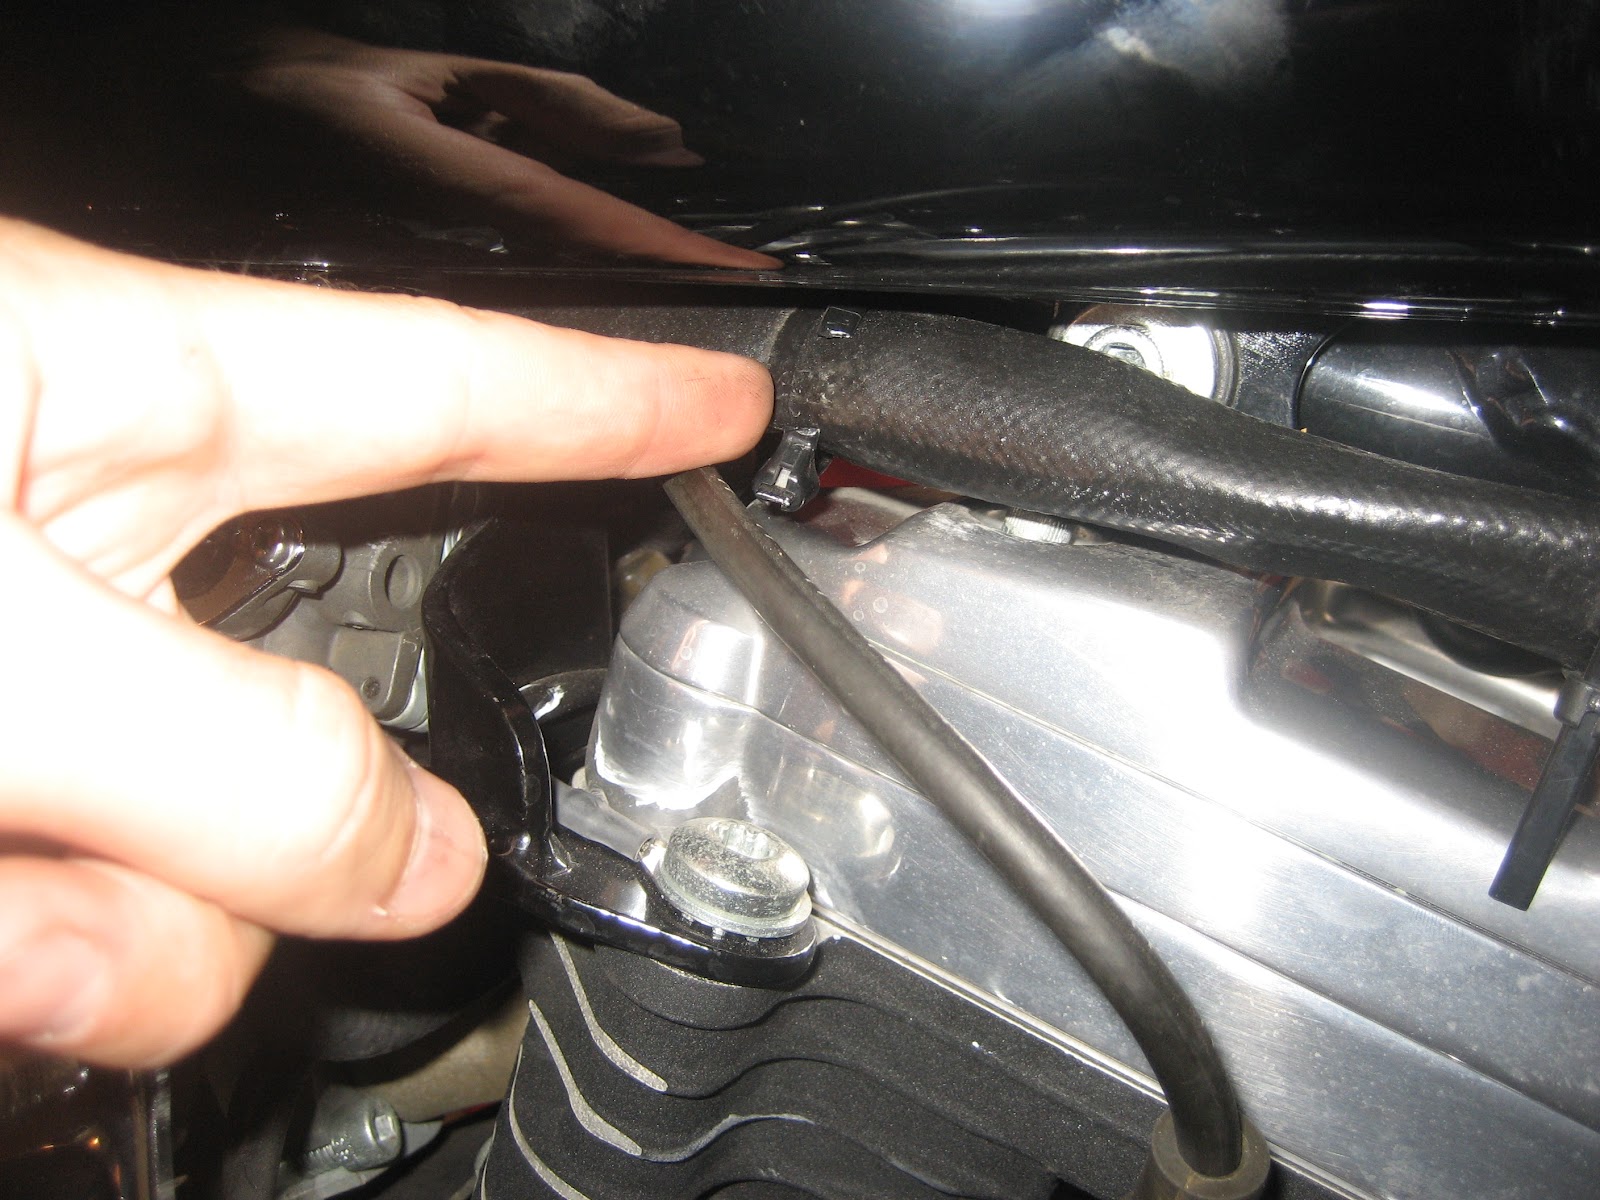
This is the path of the wire bundle


About the ignition coil is where I pulled the wire bundle after I freed it from certain zip ties.  It took a bit of convincing but it started to come out


Then next thing I knew, the wire bundle was free and so was the speedo and bracket.  You can see that at this point the instrument lights are still attached to the mounting bracket


From  here it was a breeze.  I just unscrewed the lights from the back of the bracket


Oh yes, you can see on the left there is where I taped up that loose ground wire.


I screwed the dummy lights into the new single speedo housing and then....


It took a little convincing but I pushed the new speedo in the housing and re attached the loose wires in the back.  Here is a little tip:  Use some WD-40 on the foam rings that go around the speedo to help get them in between the speedo and the housing.  It will take a little work, but the WD-40 will help (also might have been because the housing was slightly out of shape (but only slightly)).

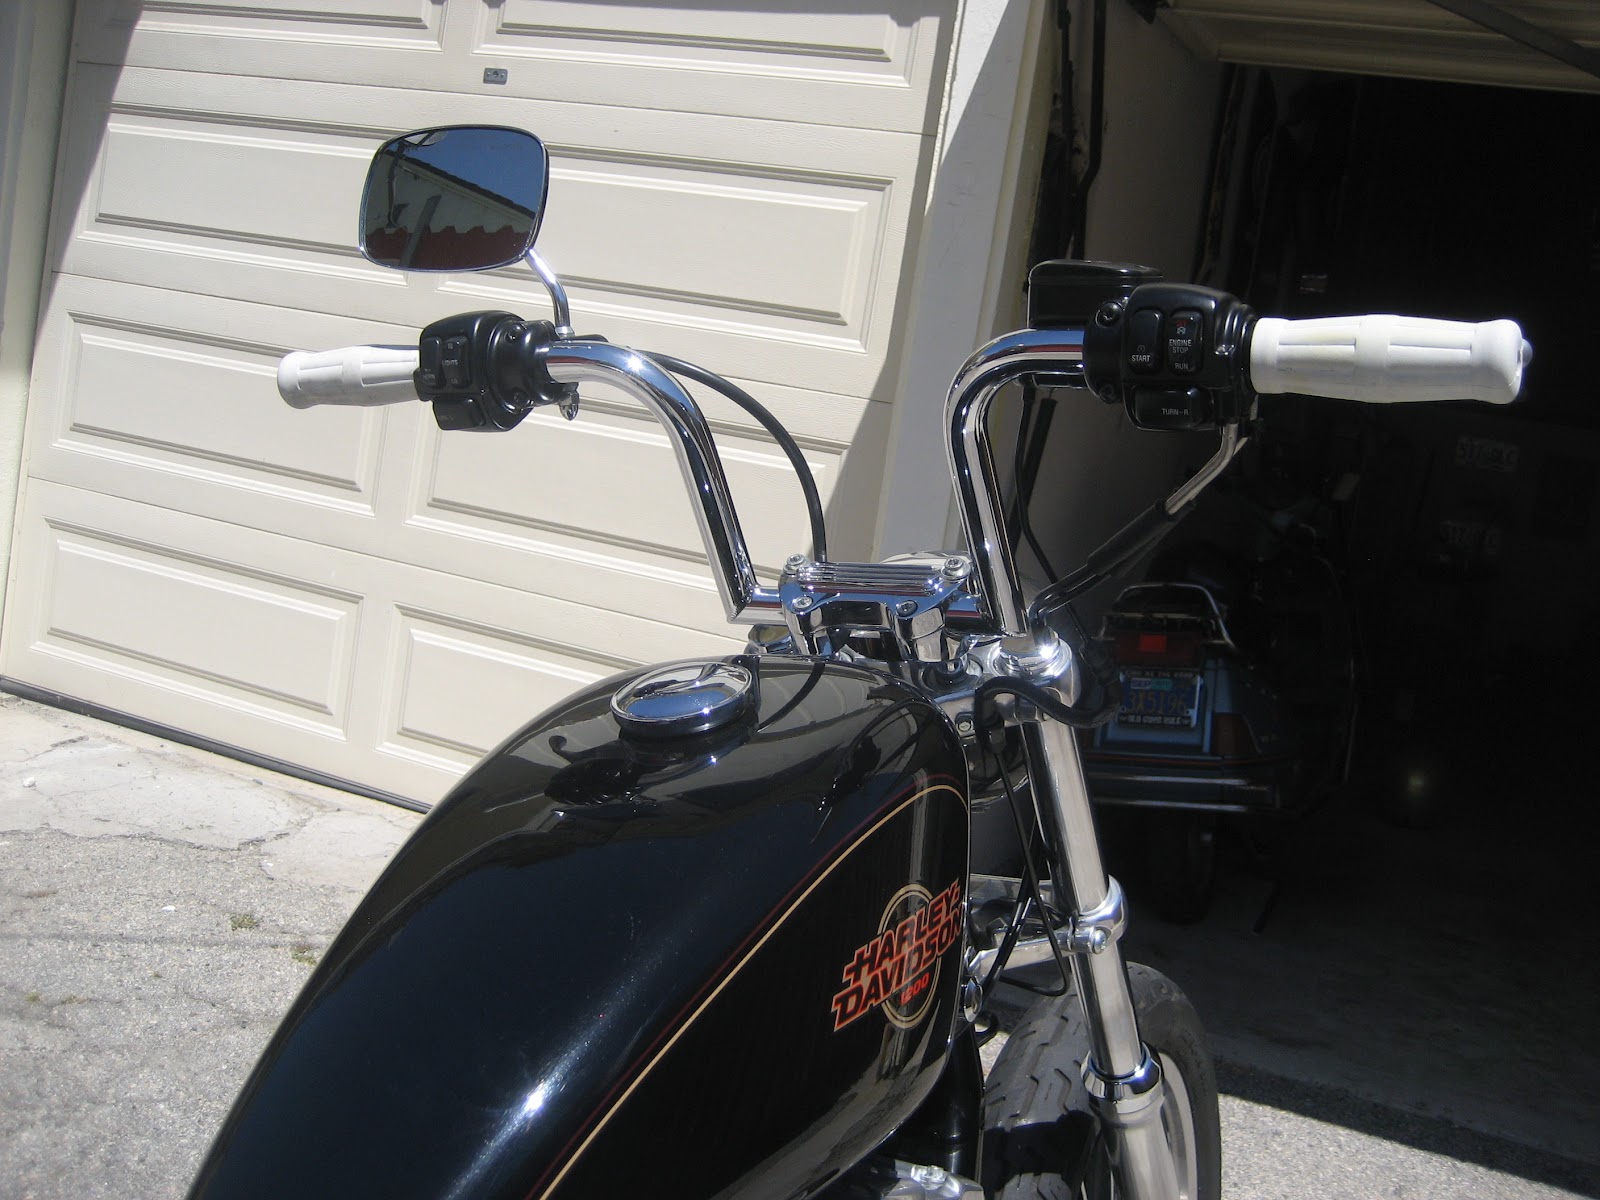
Next thing you know.....here it is the single speedo ready to go.


But then a funny thing happened....

Goodbye Tach...

With the bars all done I wanted to try and clean up the front by getting rid of the tach and running just a speedo.  I looked around and ended up posting a WTB ad on chopcult and with in a couple hours I bought a single speedo housing from a member in MO.  So when it finally arrived, I was down in the garage with the manual getting to work.

So here is the single speedo housing from CC member


Should look good


Detached eyebrow and speedo/tach housing


Removed backing from tach to unhook wires from tach to deutsch connector under eyebrow.  You have to remove the wires otherwise you cannot remove tach from housing because the wires go through the housing.


Here is the 12 point connector that lives under the eyebrow


I had to follow the wires back to know which ones to disconnect, but then I noticed there was a black ground wire that splits and one part goes to the tach and the other to the speedo so I had to cut that wire.  Now, I am not in the habit of cutting wires but in this case, I had no choice.


After the black ground wire was cut, the tach came off pretty easily.  Here it is all disassembled and off the mount!


Then to keep things clean, I put it all back together and reassembled it.  And tah-dah!!!  Tach is off and easy enough.


Now onto the speedo....